 |
| K and JJ's Christening - January 2009 |
Wednesday, November 30, 2011
Saturday, November 12, 2011
First Giveaway - Braid Komb braid removal comb
It's been a week of firsts:
JJ and I are gearing up to participate in the one month protective styling challenge at Beads, Braids and Beyond. Right now JJ has a fresh new head of twists, but they probably won't last the full month. I'm thinking there are box braids in our future.
You may remember from previous posts that I don't mind putting braids in, but braid removal makes JJ and I grumpy. A while back I discovered a tool called the Braid Komb - it's a specially designed comb that makes braid removal easier.

It's locally made (in Toronto), and not yet available in the US or online.
So although it's not a big-ticket item in terms of price (retail $1.99), there is a certain exclusivity to it in that it's hard to find anywhere but here!!
For more information about the comb, check out the Komb Story on the Braid Removal Comb website.
I have 3 Braid Komb braid removal combs available to readers from anywhere in the world (I just checked my blogger stats; I know you're out there in Japan, Israel and Peru!). Hopefully, entering will be easy with the Rafflecopter form below. Here are the details for entering:
1) leave a comment on this post, telling me your favorite protective hair style
2) optional: "like" Hair-Raising Adventures on facebook
3) optional: follow Hair-Raising Adventures on Google Friend Connect
4) optional: share this giveaway on facebook or on your blog
This giveaway will close just after midnight on November 14, 2011 so don't blink or you'll miss it!
Click on "Read More" to load Rafflecopter. GOOD LUCK!
- Somehow my first year of (really, really part-time) blogging has come to an end! Welcome year 2 - I'm hoping for more exciting (and hair-raising) adventures!
- I did my first Wordless Wednesday post, hosted by Untrained Hair Mom (thanks, UHM)
- I finally won my first giveaway (thanks, Fancy Pants Kids)
- And now, I am using Rafflecopter for the very first time, to do my first giveaway!!
JJ and I are gearing up to participate in the one month protective styling challenge at Beads, Braids and Beyond. Right now JJ has a fresh new head of twists, but they probably won't last the full month. I'm thinking there are box braids in our future.
You may remember from previous posts that I don't mind putting braids in, but braid removal makes JJ and I grumpy. A while back I discovered a tool called the Braid Komb - it's a specially designed comb that makes braid removal easier.

It's locally made (in Toronto), and not yet available in the US or online.
So although it's not a big-ticket item in terms of price (retail $1.99), there is a certain exclusivity to it in that it's hard to find anywhere but here!!
For more information about the comb, check out the Komb Story on the Braid Removal Comb website.
I have 3 Braid Komb braid removal combs available to readers from anywhere in the world (I just checked my blogger stats; I know you're out there in Japan, Israel and Peru!). Hopefully, entering will be easy with the Rafflecopter form below. Here are the details for entering:
1) leave a comment on this post, telling me your favorite protective hair style
2) optional: "like" Hair-Raising Adventures on facebook
3) optional: follow Hair-Raising Adventures on Google Friend Connect
4) optional: share this giveaway on facebook or on your blog
This giveaway will close just after midnight on November 14, 2011 so don't blink or you'll miss it!
Click on "Read More" to load Rafflecopter. GOOD LUCK!
Wednesday, November 9, 2011

Saturday, November 5, 2011
Cornrows into Tucked-in Twists

This style evolved from a previous style (see more here, at Making the Most of a Hairstyle). JJ had a few braids at the front, and some cornrows at the back that still looked decent - even after 3 weeks - so I wanted to incorporate them into this style.
I started with still-decent-looking braids at the front (bangs) and back (under the puff):


I undid the bottom row of braids, and undid the braided ends of the cornrows.
Then I cornrowed the sides up & towards the back. I secured each section in the middle of JJ's head with an orange ouchlesss band, and twisted the ends.

I added Halloweeny-colored beads to the bangs. JJ loves to whip her hair.

I also twisted the twists and tucked all the ends in. JJ's hair is long enough that I didn't need to use pins.


Finally, for school and for eating and drinking, I tucked the long, beaded bangs into the twists. This helped to keep the braids clean (e.g., out of her food!!) and helped keep her classmates safe. Did I mention she likes to whip her hair?

This style lasted another 2 weeks!! And got tons of compliments too!!
Yes, I am patting myself on the back - almost exactly one year ago I wrote my very first blog post!! I have learned sooooo much since then!
Thanks to all of you who have inspired me, and to all of you who have stopped by over the past year to take a peek at my hair-raising adventures!
Making the Most of a Hairstyle
I always find it interesting how one style can evolve into another. A little while back, I got a month's worth of styles that originated from these cornrows into pigtails.


After another 10 days, the top part of JJ's head was looking fuzzy from a combination of car seat, napping, falling-off sleeping caps, wrestling, etc:

I left the braids in at the front and the back, and just took out the top cornrows. I'd been applying my home-made shea butter/coconut oil/shea oil mix to JJ's braids regularly, and her hair felt lovely and soft when I took it out of the braids.
 |
| top cornrows halfway out - look at that soft, shiny hair! |
JJ spent abut 5 days with a big pony puff - somehow I forgot to take pictures beyond this one:

So now we were almost three weeks in from the original style. The bang braids and braids in the back were still looking decent!
I took out the very bottom row of braids but kept the back cornrows in and incorporated them into a new style; cornrows into tucked-in twists. Some of the "bang" braids also still looked okay, and ended up getting included in the new style too.
|
| cornrows at the back going on week 4 |
|
| original bang braids going on week 4 |
Both JJ and I are happy when we can stretch out a style. Although we both love hair time, it's nice to change up a style little at a time to minimize the meltdowns we both have when things take longer than expected. And JJ's hair grows well and stays in good condition with less manipulation.
Win-win!!
Win-win!!
Tuesday, November 1, 2011
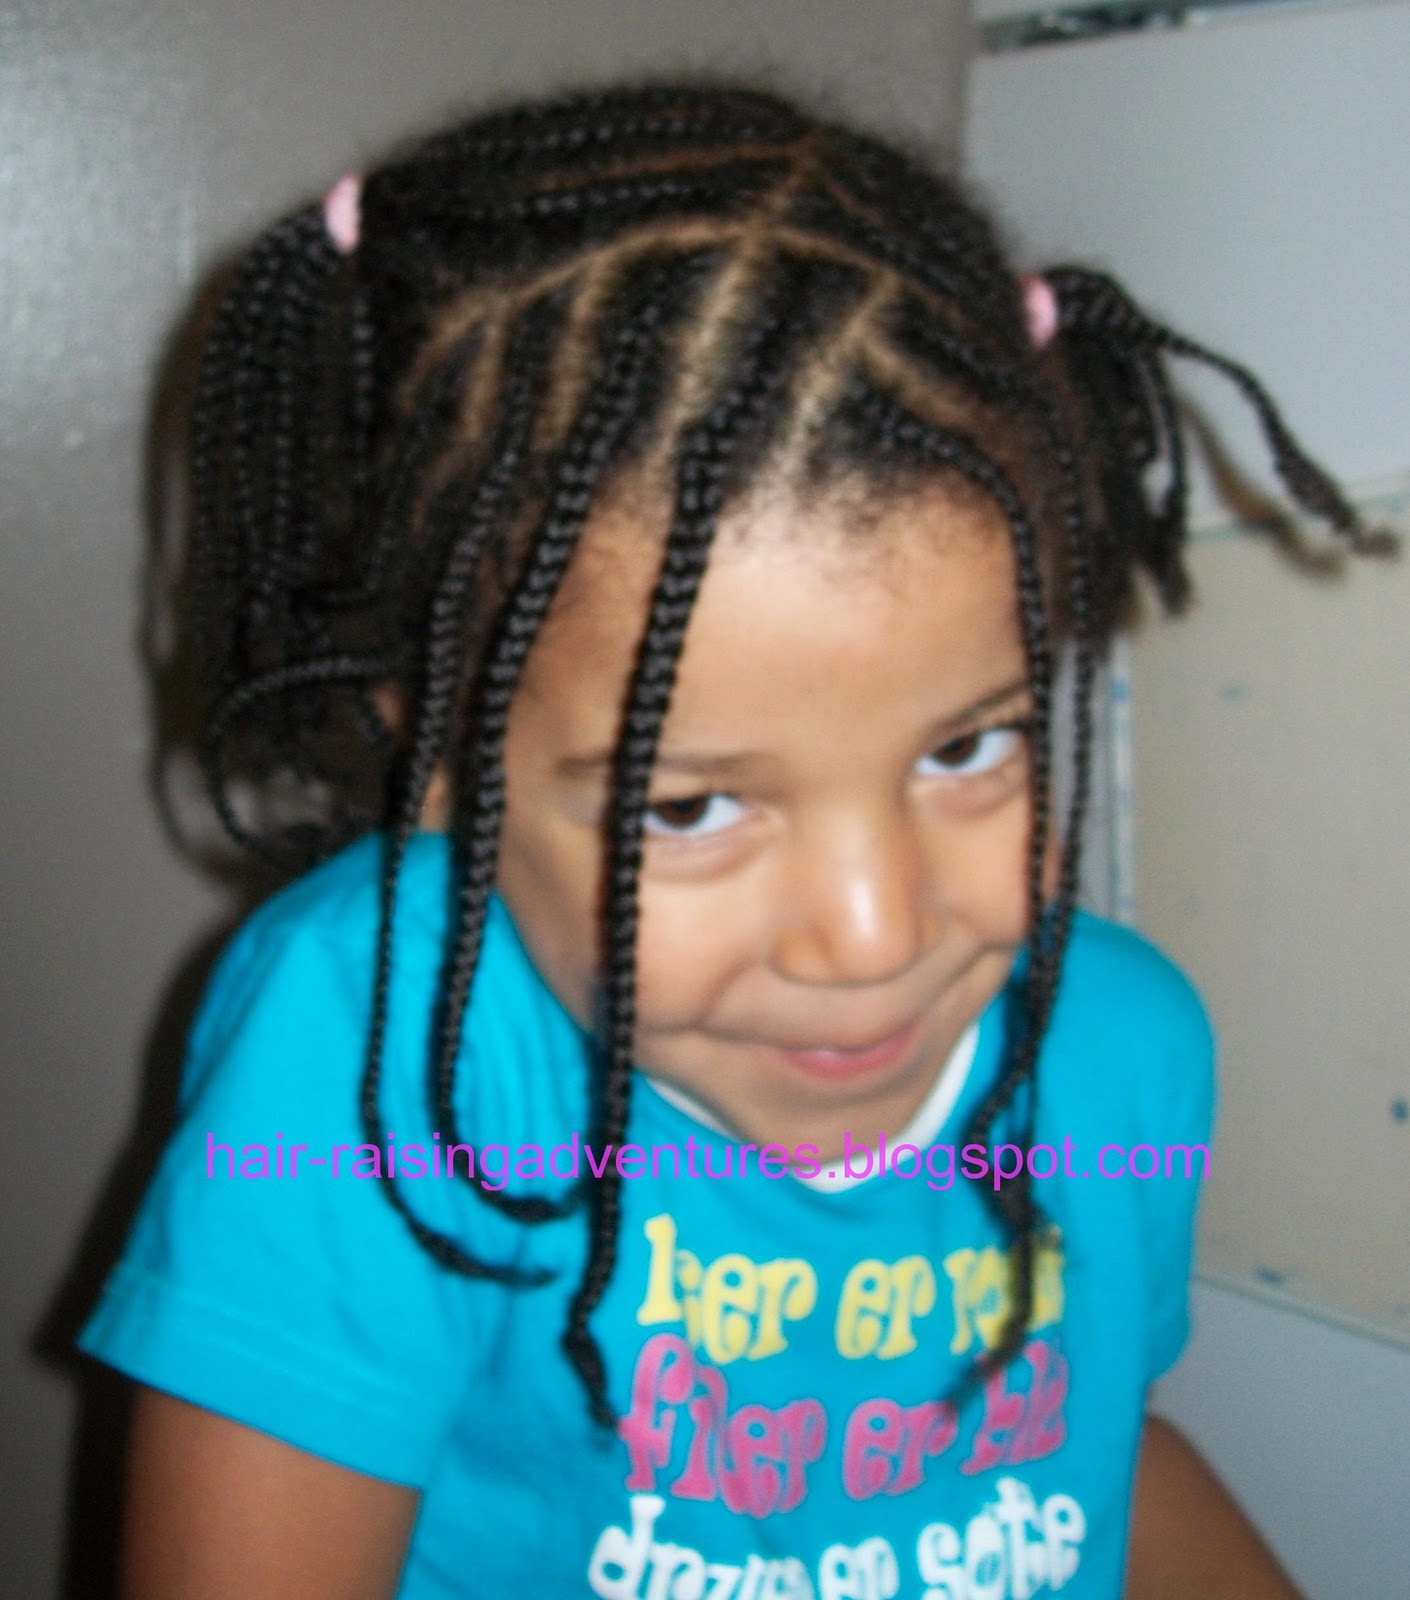
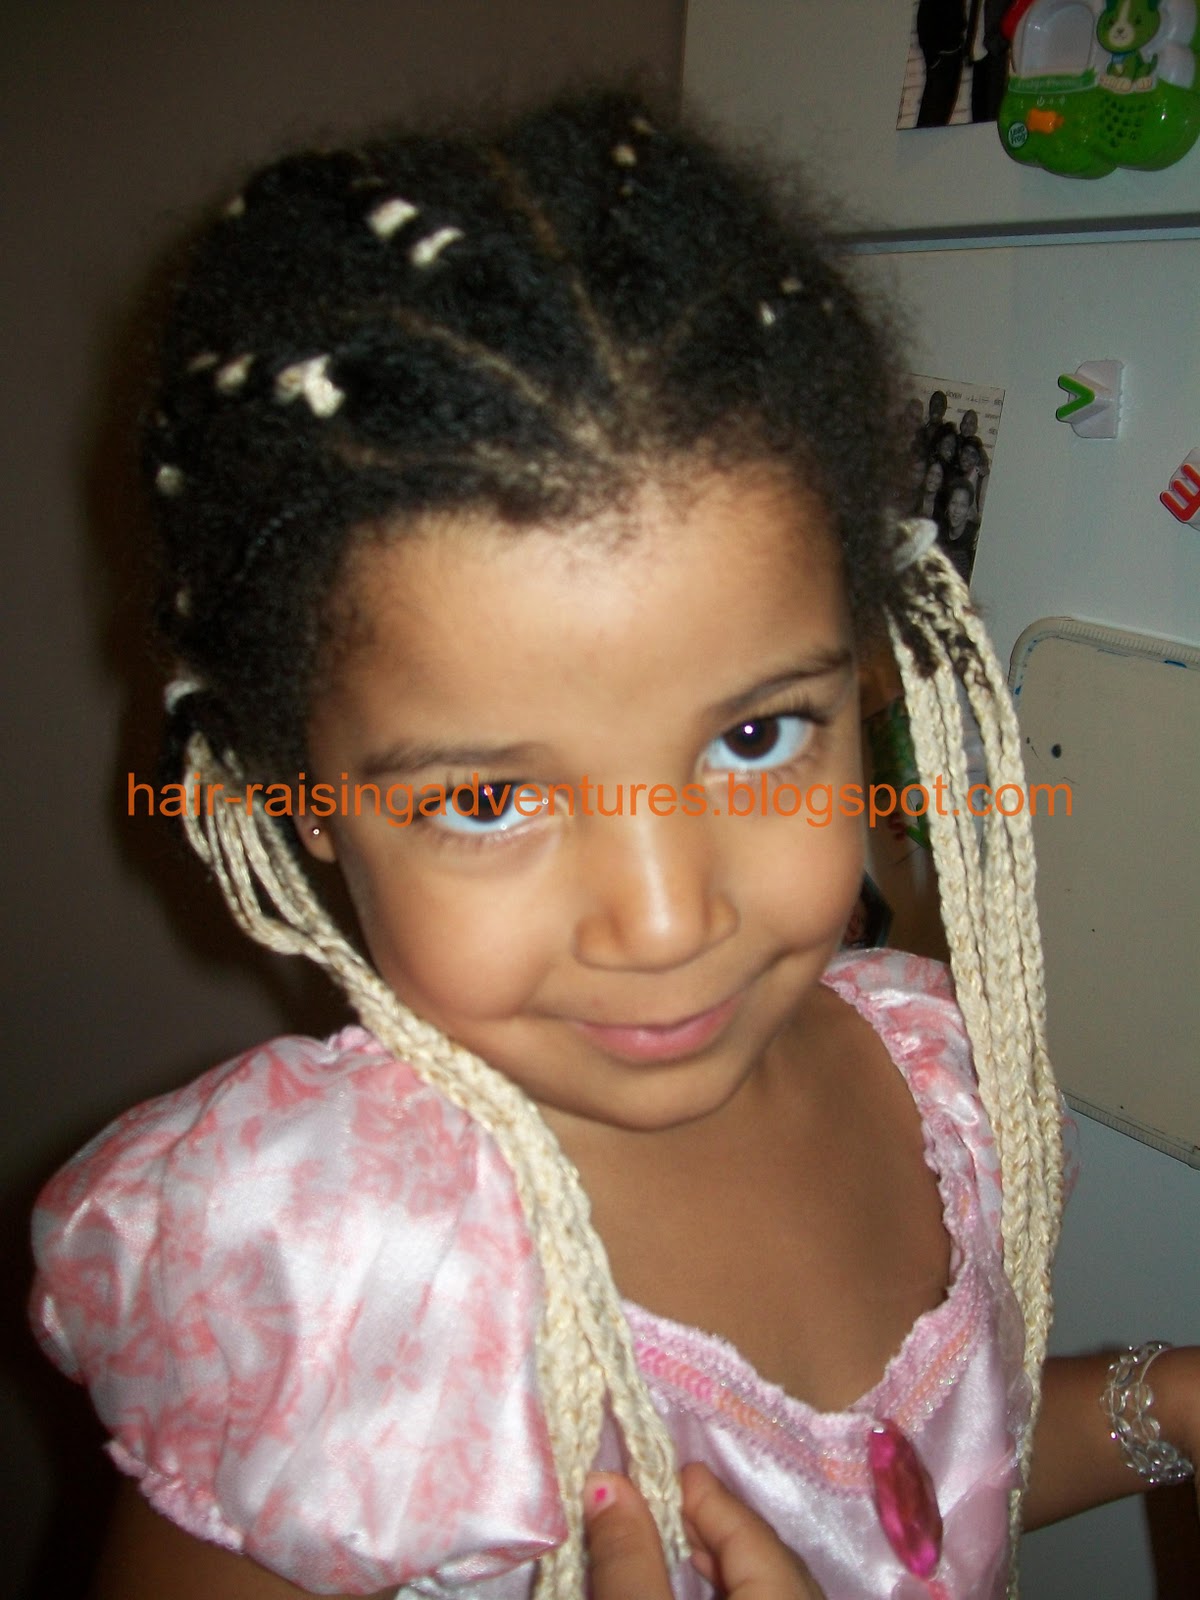
Halloween Style - "Rapunzel" Yarn Braids
JJ decided months ago that for Halloween she wanted to be Rapunzel. She had a very definite idea in her head. She wanted long, golden hair.
I, in turn, spent months trying to figure out how I would achieve this, as well as struggling with how I felt about her wanting long, golden hair.
A good friend encouraged me to lighten up. She said that she was sure that JJ wanting long, golden hair for Halloween did not necessarily mean that she disliked her tightly coiled, shrinkage-prone black hair. This friend reminded me of the many times that I have changed my look drastically for Halloween, theme parties and other special events. This, she told me, was the same thing. It was one day, and JJ should have what she wanted.
After some thought, I decided to go with an interpretation of long, golden hair that would respect what JJ wanted, but would also incorporate her natural hair.
First we found some light golden yarn, with just a little bit of sparkle to it.

Working with clean, dry, stretched hair, I added in the yarn.

At first I tried to do a two strand twist, half hair, half yarn.


JJ decided it was too candy-cane-like.
I tried another twist. This time I started with a flat rope twist into a two strand twist. She liked this look better, so we went with it for the rest of the hair.

In the end she had six flat twists in the front, with the yarn incorporated into them. The parting style was copied from this simple braids into princess hairstyle at All Things Cute and Girly. JJ had an additional 6 braids (with yarn incorporated) at the back, for a total of 12 medium-sized sections. I braided the ends of each section. The length of each section (once braided) was at her waist.
I pulled the two sides together into side ponytails.
JJ also wanted to add this crown that a friend had recently given her.

In the end, JJ was extremely pleased with her long, golden Rapunzel hair, and she had a great time at school and trick-or-treating.

Little brother's hair, on the other hand, was pretty low maintenance: white hat.
BOO!

Happy Halloween!!!
One last photo: the next day at school Rapunzel style - pulled into a loose bun.


And check out these other great Halloween Carnival styles:
Subscribe to:
Posts (Atom)